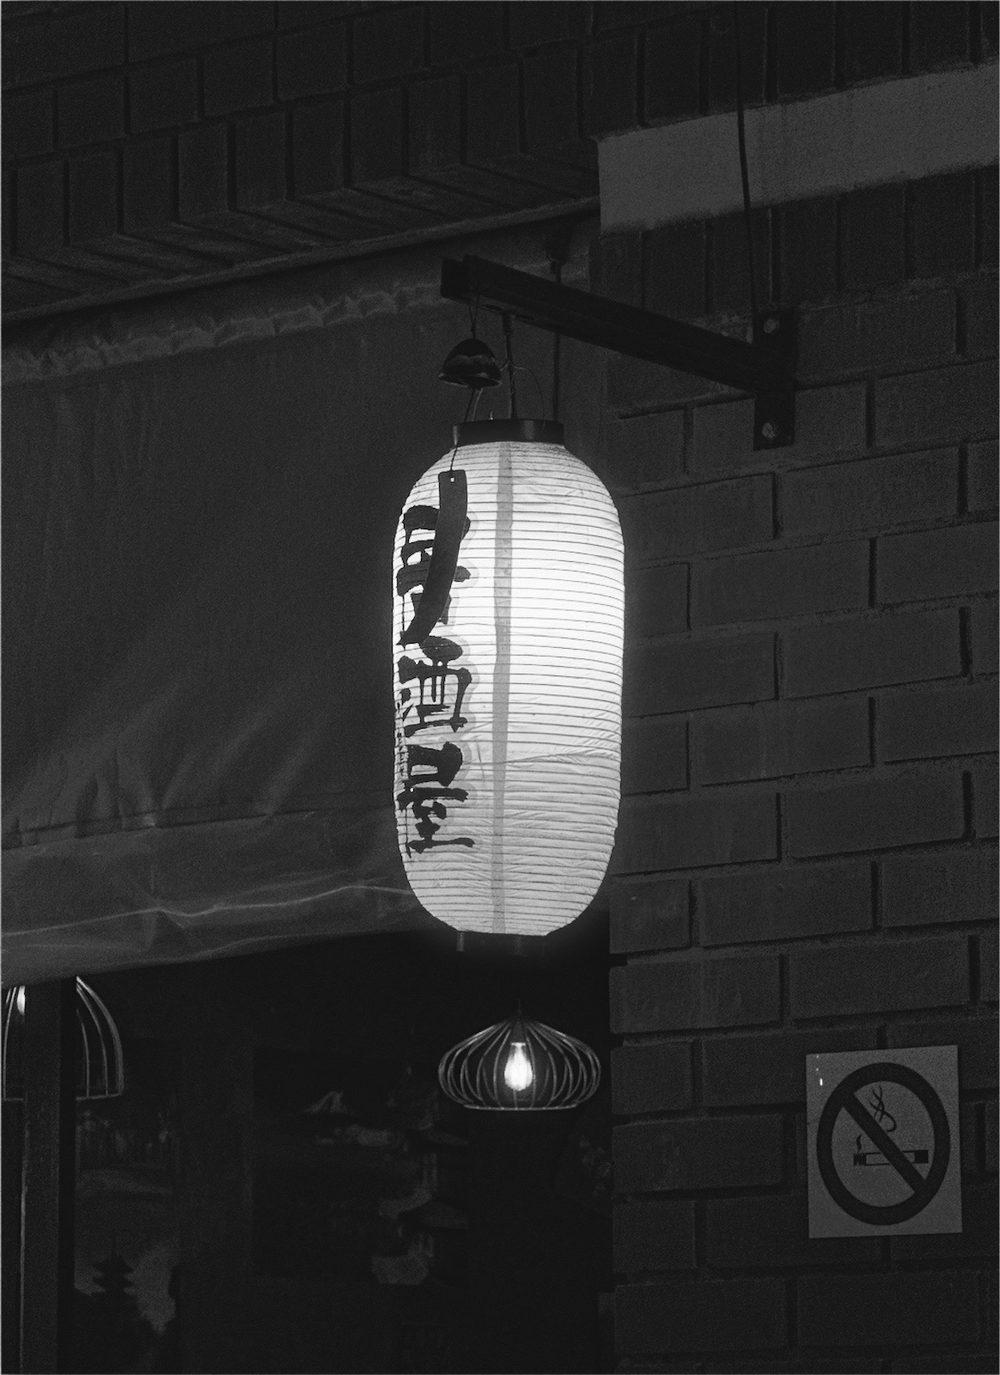
Let the dark stay dark
The most common night photo mistake is trying to make night look like day. Brightening everything to see the detail removes the mood that made you want the picture. Night looks like night because most of the frame is dark.
Film handled this naturally. A film exposure at night would have deep shadows and a few bright points of light, and nobody complained. Aim for the same. Let the darkest parts of the frame go close to black. Let one or two lights carry the picture.
If the shadow areas look grey and milky, the photo has been lifted too far. Bring the exposure down or add contrast until the darkest parts look properly dark.
A useful test is to look at the picture on a screen in a dim room. If the black areas look like a dark grey wash, they probably need more depth.
Mixed light and colour
At night you often have several light sources in one frame, each with its own colour. Street lamps may be orange, shop signs may be green or blue, windows may be warm white, and car lights red.
Sodium vapour lamps give a strong orange-yellow cast. Neon signs can be pink, red, blue or green. LED lighting tends to be whiter and cooler. Mixing them creates colour you could not plan, and the effect can be rich.
Do not try to correct everything to neutral. If you pull the colour balance until the street lamp looks white, the neon will go strange and the scene will lose its character. Instead, choose the dominant light and let the others sit around it. If the colours fight, try black and white, which removes the problem.
A practical approach is to expose for the brightest light you care about. Let the rest fall where it falls. The coloured pools around lamps and signs are what make a night street feel alive, so leave them alone.
Do not over-brighten
Phone cameras often use a night mode that combines several frames to produce a bright, clean picture. It is useful, but the result can look flat and over-lit, with every corner visible.
If your phone offers control over exposure, lower it a little. Tap on the brightest part of the scene and drag the exposure down so the light source keeps its shape and does not turn into a white blob. Highlights that are blown out cannot be recovered. Shadows that are too dark can be lifted a little.
It is easier to bring up a dark picture than to rescue a bright one, so err on the dark side.
Wet streets are a gift at night. They reflect every light as a long streak and double the colour in the frame. After rain, look down as well as ahead.
Grain suits the dark
Digital noise and film grain are different things, but both appear in the shadows of a night photo. Digital noise looks like coloured speckle. Film grain looks more like an even texture.
If you add grain on purpose, a night photo can look more natural, because the texture hides the smooth blotchy look of noise reduction. Fast black and white films became known for coarse grain in low light, and it became part of how night pictures looked.
Keep it moderate. Grain should add texture, not hide the subject. Check the picture at the size it will be viewed.
Grain also helps when you have to raise the exposure of a dark file. It gives the lifted shadows a texture that looks intentional, where plain brightening can look smooth and plastic.
Hold the phone steady
Low light means longer exposure, and longer exposure means blur from small movements. You do not need a tripod to improve this.
Hold the phone with both hands and keep your elbows against your body. Lean on a wall, a railing or a car roof. Breathe out as you press the shutter. If the screen has a timer, use it, so that pressing the button does not shake the phone. Wait for moving subjects to be still, or let them blur on purpose and keep the rest sharp.
Take two frames and keep the sharper one. At night, a little extra patience is worth more than any adjustment afterwards.
Think about where you will place the light too. A single bright window, a shop sign or a passing headlight gives the eye somewhere to go. The rest of the frame can stay quiet.
Try it in Simul
For black and white nights, try the Ilford Delta 3200 look or the Kodak TRI-X 400 look in Simul Studio. Both are film-inspired looks based on those stocks. Delta 3200 is known for strong grain and a moody, high-speed character. TRI-X 400 is more contrasty and classic. They suit streets, signs and rain.
For glowing lights, try halation in the darkroom on iPhone. Halation is a soft red-orange glow around bright points, caused in film by light bouncing back through the emulsion. Used lightly, it makes lamps and signs feel warm and slightly bloomed.
The live camera previews the look as you shoot, so you can expose for the lights and keep the shadows dark. Edit non-destructively, with your original always kept.