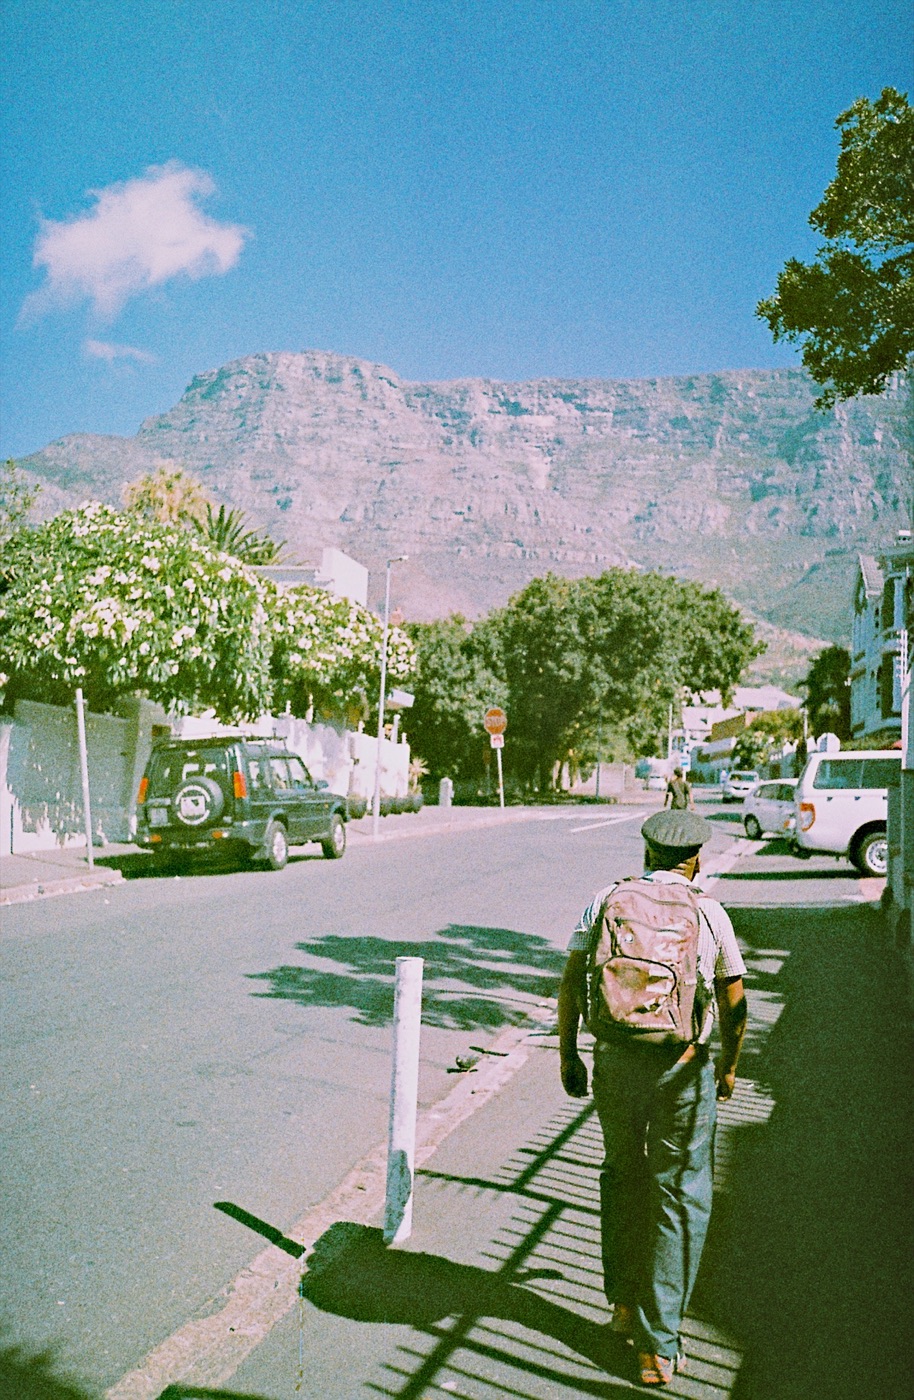
The light is already making choices
Every photograph arrives with a structure. Hard sun cuts the scene into bright shapes and deep shadows. Soft light keeps transitions gentle. Mixed light asks several colours and brightness levels to live in the same frame.
A film-inspired edit works best when it strengthens that structure instead of trying to make every photograph look evenly lit. Before choosing a preset, name the light you actually have. That small pause makes the rest of the edit easier.
Hard light: protect the shape
Hard light gives you clear edges, graphic shadows, and bright surfaces. Start by deciding which part of the photograph must keep its detail. If the subject is in the sun, lower exposure or highlights gently before lifting the darker areas.
Do not open every shadow. A dark doorway, wall, or silhouette may be doing important compositional work. Choose a preset that keeps the separation between light and shade, then adjust contrast only if the brightest and darkest areas have become too severe.
Soft light: build separation gently
Overcast skies, window light, and shaded streets produce quieter tonal changes. These photographs can accept a little more contrast because there is less risk of turning one hard edge into a distraction.
Look for the subject's separation from the background. A modest move to contrast, blacks, or warmth may be enough. Heavy clarity or saturation can remove the calm quality that made the light useful in the first place.
Mixed light: choose an anchor
Mixed light might combine a cool window with a warm lamp, daylight with fluorescent green, or sunset with a bright phone screen. Trying to neutralise every source usually leaves the photograph without a point of view.
Choose the light that matters most to the subject and let the other source remain different. Set warmth and tint around skin, a white surface, or the main pool of light. The secondary colour can stay as part of the scene rather than becoming a problem to erase.
Match the preset to the photograph
A preset name cannot tell you whether it suits the light in front of you. Preview a few directions and watch the important areas: faces, white clothing, windows, sky, and the boundary between light and shadow.
The useful preset is the one that gets the photograph close while preserving those relationships. In Simul, treat the preset as a starting point, then use the light and colour controls to make the result belong to this particular image.
A simple decision sequence
Name the light: hard, soft, or mixed. Choose the visual anchor. Apply one preset. Set exposure, then contrast and highlight or shadow detail. Adjust warmth and tint only after the tonal shape feels right. Add texture last.
Finish by comparing the edit with the original. If the new version still carries the same light, only with a clearer intention, the edit is working. If every scene has started to look the same, return to the photograph and let its light lead again.